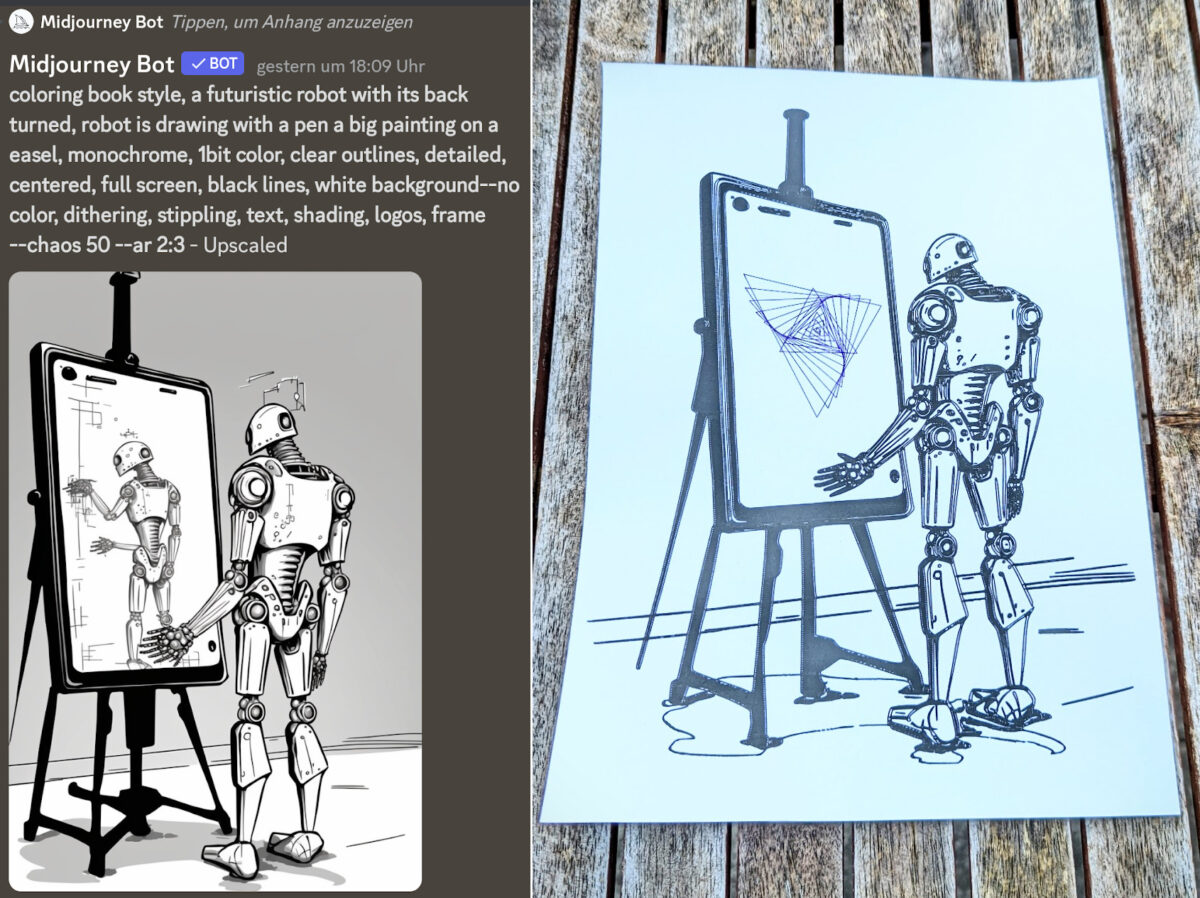
Do you love AI-Art? Do you love Penplotting? You just don’t know how to combine them using the strengths of both tools?! Well, have no fear because I am here to show you a technique that will bring your AI-generated art to the physical world with the help of a pen plotter.
The key to this technique is using AI to generate images in a coloring book style, which is useful, when you use a printer that just draws lines.
To follow this guide, you’ll need:
- Access to an AI which can generate images. Midjourney, Stable Diffusion or Dalle will work. (I personally prefer Midjourney because it gives the best and most visually pleasing results, but you do you)
- Photo Editing software, such as Gimp or Photoshop (because let’s face it, no AI is perfect – yet)
- Inkscape with the Axidraw Extension (because, plotter)
There is no coding needed for this technique.
Generate image with AI
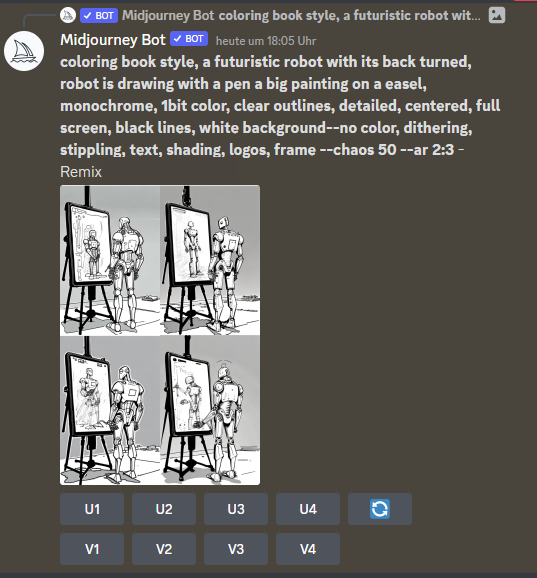
Useful terms (midjourney):
coloring book style, <description>, monochrome, 1bit color, clear outlines, detailed, centred, full screen, high contrast, black lines, white background
Negatives: color, dithering, stippling, text, shading, logos, frame
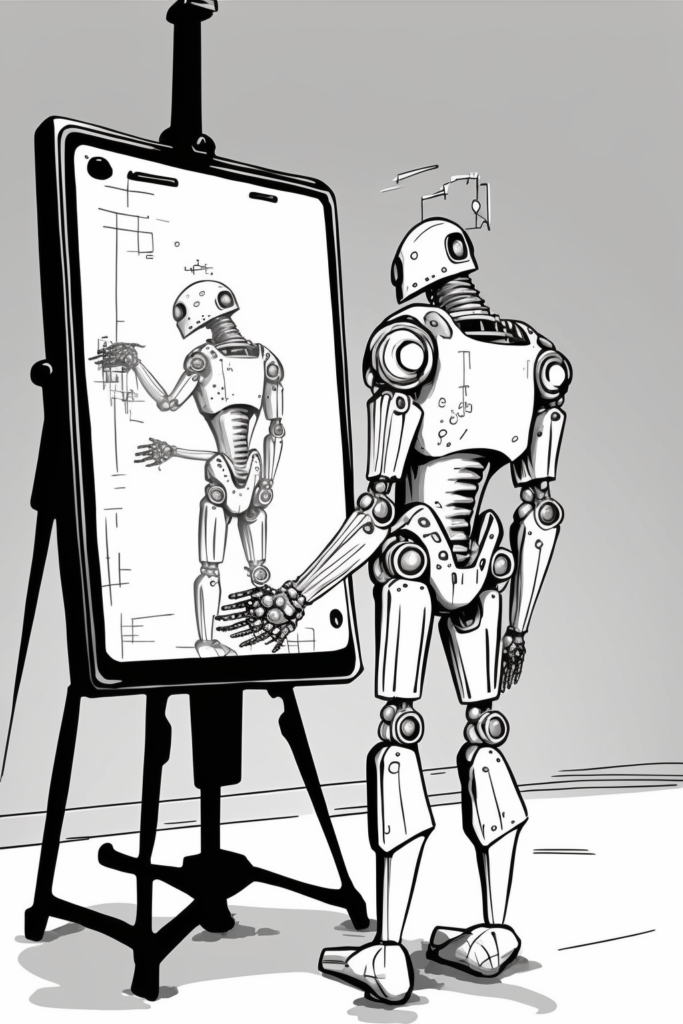
Ideally, you want an image which is just black and white, with no grey color in between (1bit).
Fix the image, raise contrast
The next step in our process is editing the image. It can be a bit of a pain, but trust me, it’s worth it in the end. The goal here is to clean up any mistakes the AI made and crank up the contrast, so we’re left with a sleek black and white image.
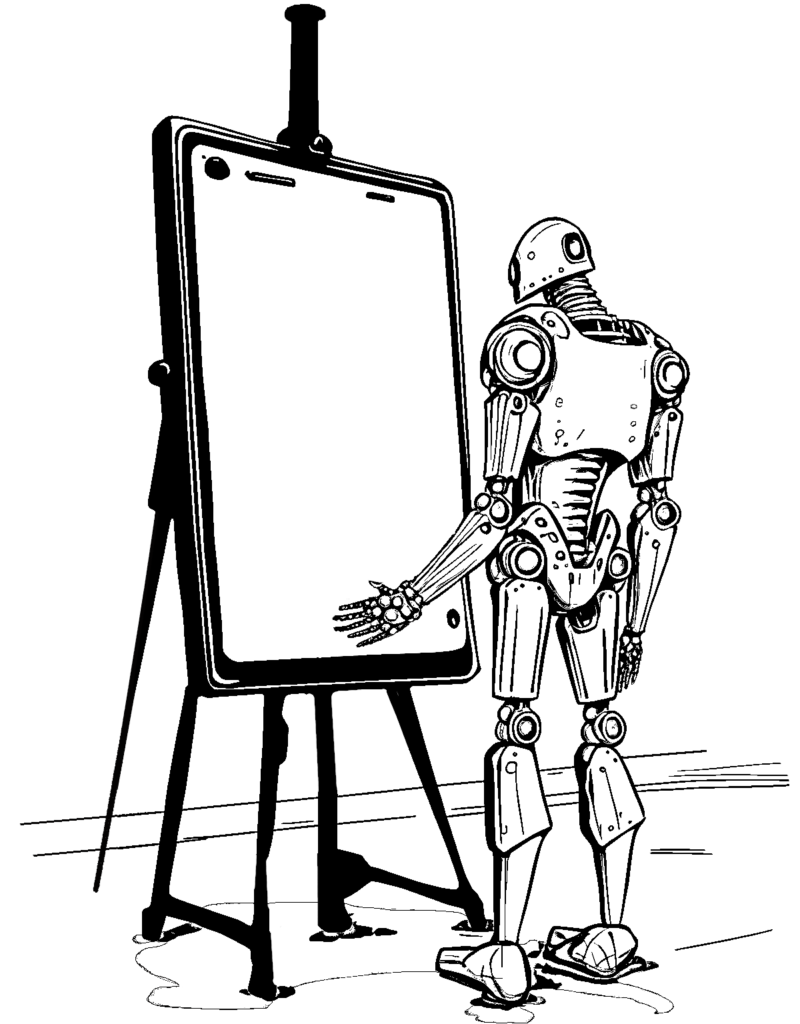
Now, when it comes to increasing contrast, just cranking up that contrast slider isn’t going to cut it. You’ll lose some of the finer details that way. My personal go-to method is a combination of working with the contrast curve, sharpening tools, and a bit of manual repainting. Some manual tweaking is necessary, lines disappear due to being too light or thin.
In this example, I made a few notable changes, like:
- Removing the content within the frame
- Attempting to recreate the easel without altering the geometry
- Removing some fingers on the hand
- Removing AI-generated artefacts.
Convert image to a vector file
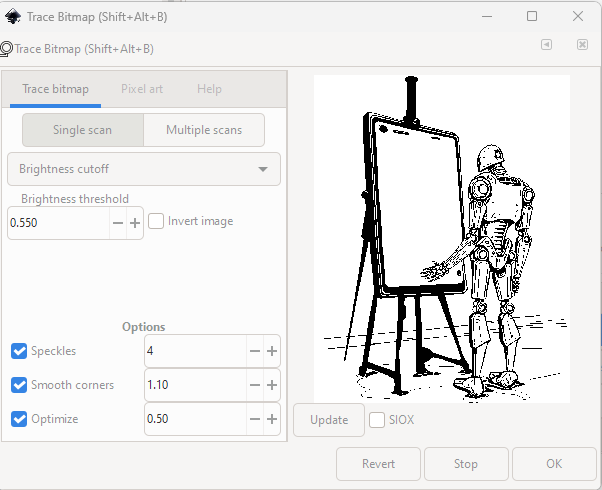
As a next step, open the fixed image in Inkscape.
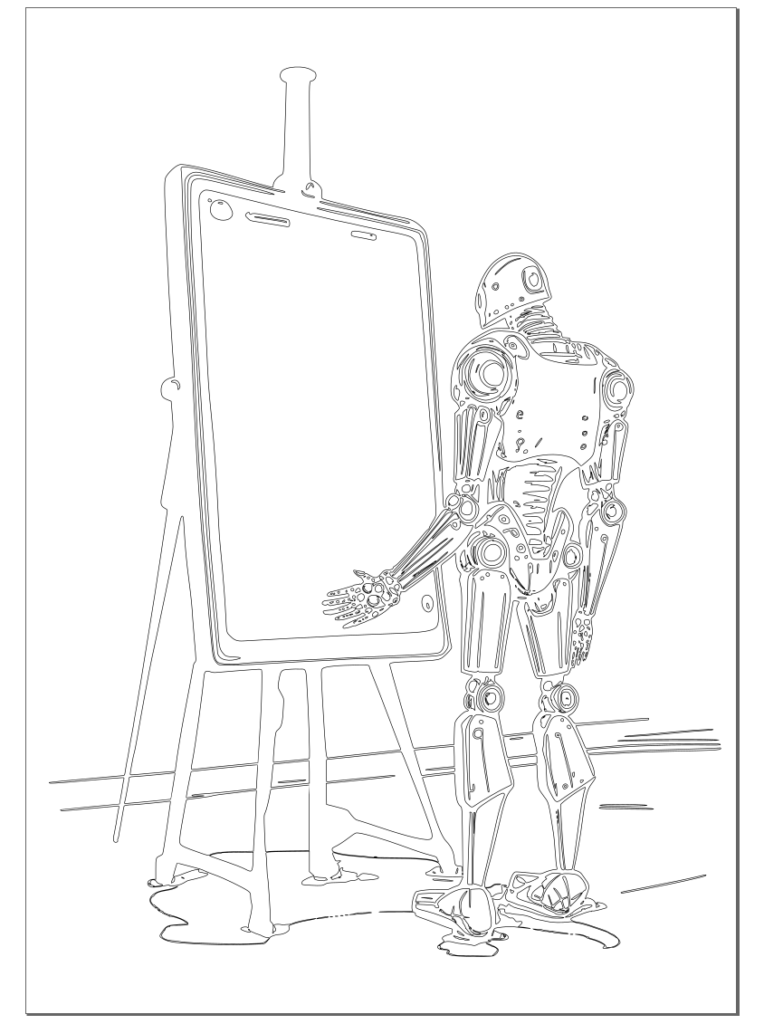
Make sure you have the image selected in the objects menu and then select “Path” –> “Trace Bitmap”.
A window should open like in the image above (first without a preview). For me, “Single scan” –> “Brightness cutoff” worked best so far, but feel free to experiment. Same of the options values at the bottom. Click “Update”
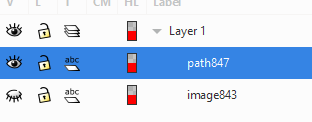
When you are happy with the result, click “OK”. In the next step, deactivate the image object by clicking on the eye and select the newly created path.
In the bottom left corner of the Inkscape window, change the fill-color to “none” and stroke-color to some visible color.
Hatch the empty spaces
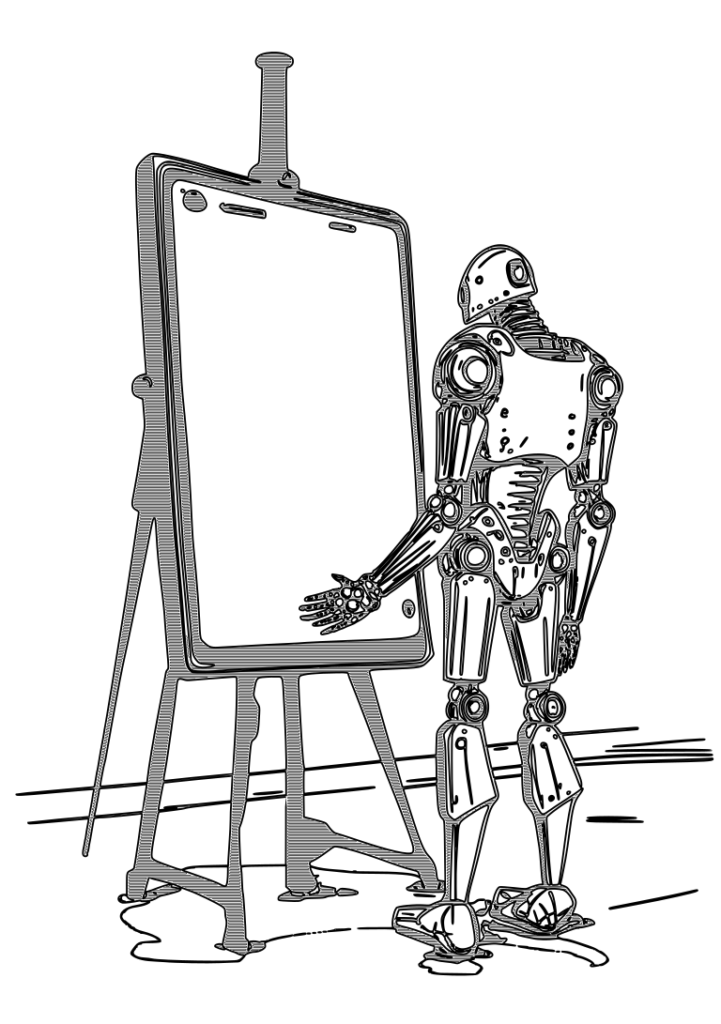
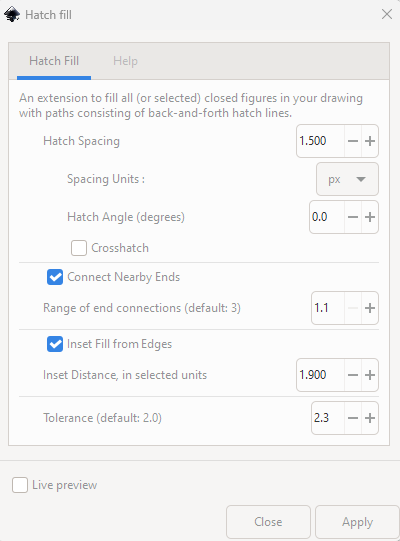
To fill the empty spaces, select Extensions –> Axi Draw Utilities –> Hatch Fill. Settings depend on size of paper and pen used.
I used these settings for A4 with 0.8 pen, which worked quite well. But I would make the inset distance a bit smaller, there were sometimes gaps between the outline and the hatching.
Plot it
And that’s about it! The only thing left to do is to plot your masterpiece (beautiful, award-winning, by Greg Rutkowski).
As a little bonus, I added generative art on mine.
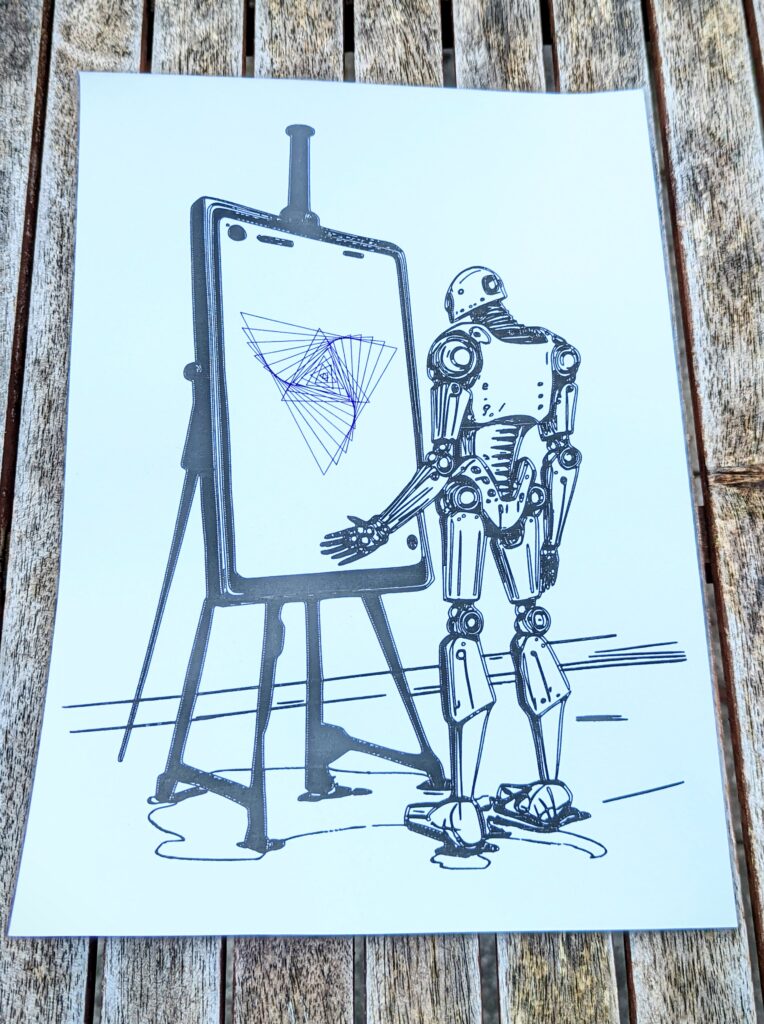
This is just the basic technique, there’s a whole world of possibilities out there to improve and build upon it. I’ve been experimenting with taking apart the images and working with different layers and colors. If you want to see some of my experiments, check out my Instagram.
Also, I wrote a tool for myself that does the vectorizing. The advantage is the hatching follows the structure of the outlines, which leads to nice results compared to just parallel hatching.
So, thanks for reading and if you want to give me some feedback, hit me up on Instagram or Mastodon.
