This is an introduction into coding with the goal of creating generative art. There will be no actual coding in this post, just fake code based on Processing. All you need to know is some maths from school.
A lot of generative art is at its core a combination of lines and filled out shapes created by a computer. Still, it is hard to explain it to someone with no experience in programming. This introduction is my attempt at explaining how I tell the computer to draw cool images.
Every Screen is a coordinate System
You remember the coordinate system from school? It is at the core of everything when we try to draw on screens. It’s very useful.
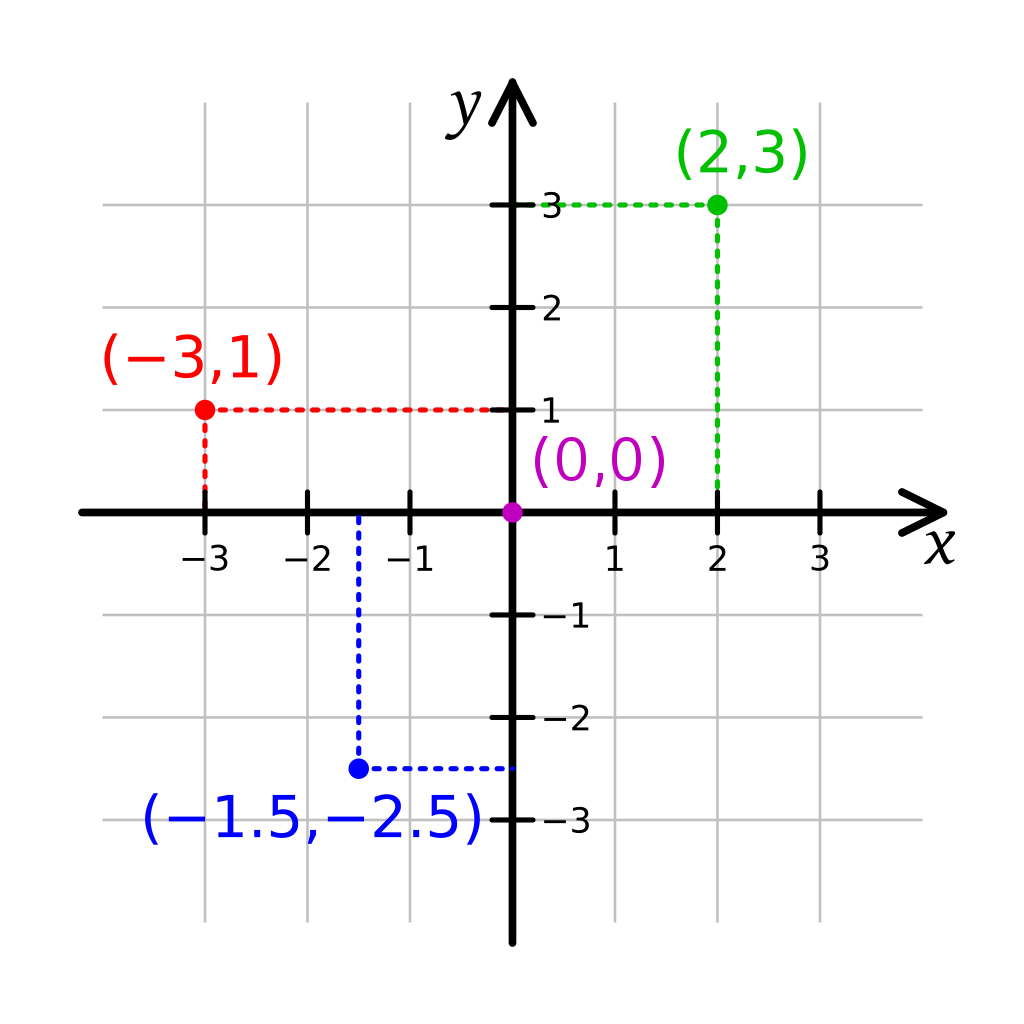
You can use the coordinates to tell the computer where to draw stuff, like for example points -> Point(x,y)
Point(2,3)
Point(-3,1)
Point(-1.5,-2.5)
(This code isn’t a real programming language, but most would work similar like the example. First the name of a function, like “point” and then the coordinates in brackets)
With the same principle, you can tell the computer to draw lines:
Line( start_x, start_y, end_x, end_y) That translates to: Draw a line from Point (start_x, start_y) to Point (end_x, end_y).
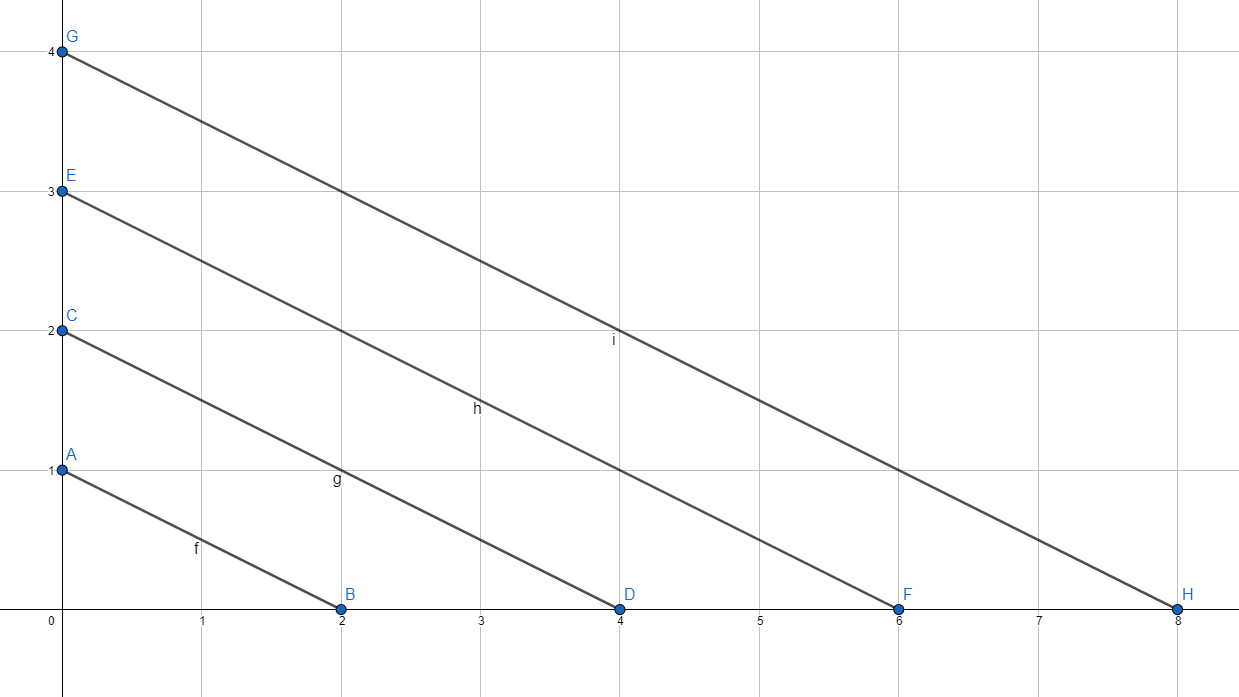
Line(0,1,2,0)
Line(0,2,4,0)
Line(0,3,6,0)
Line(0,4,8,0)
Writing down coordinates isn’t taking advantage of a computer and annoying. Computers are great in adding and repeating things many times, so they should do the work.
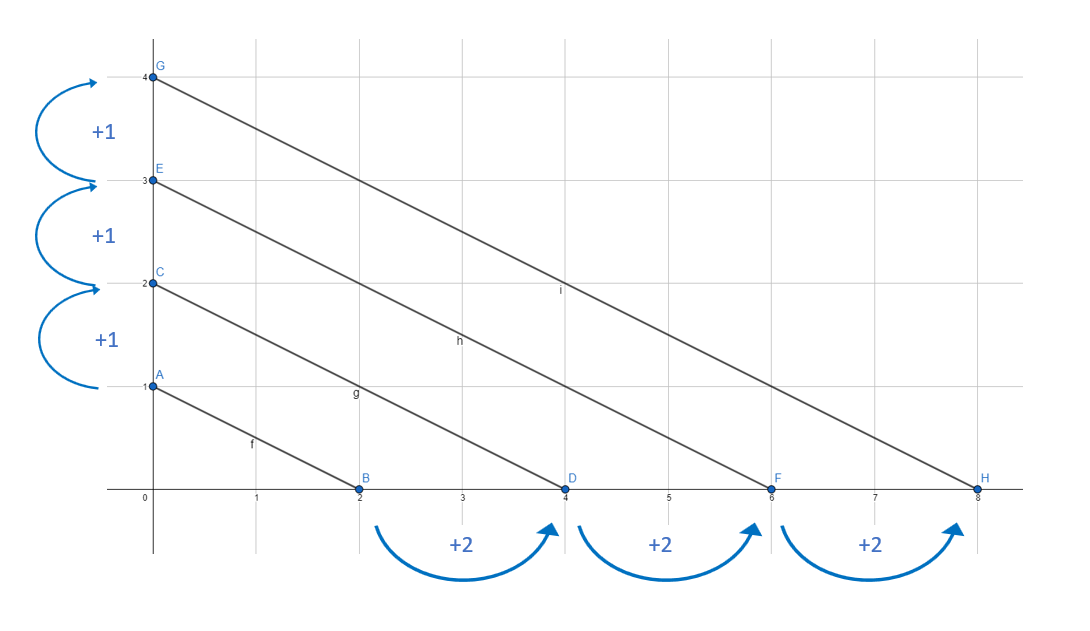
There is a pattern in the distance of the lines. This is easy to automate with a computer. But first, you need to understand two concepts in programming: Variables and Loops.
Variables
Variables are a way for the computer to remember numbers (also text and lists, but that is not relevant here). We need them to reuse values. One basic thing we need them for is to count. And to count up you need to remember the last number you counted. Same for the computer.
Variables work similar like letters in maths. You assign a letter (or a word) a value. That letter is then equal to that value.
a=3
banana=1
c=a+banana
a is set to 3
banana is set to 1
c is set to a+banana
c is now 4.
Now we learnt this, we can use that to create our first line.
start_x = 0
start_y = 1
end_x = 2
end_y = 0
Line( start_x, start_y, end_x, end_y)
Loops
We want to draw more than one line and that is why we need loops.
A loop works this way: You tell the computer to repeat a piece of code (all the text inside the curly-brackets) until a certain condition is met. To use a loop the command “while” is used in many programming languages.
counter=1
while (counter<=4){
   counter = counter+1
}
Here we create the variable counter. The variable “counter” is set to 4.
While the variable “counter” is smaller or equal to 4, repeat code in brackets{
“counter” is set to “counter” +1.
}
We create a variable counter and count with it to four. Afterwards, the condition in the loop is met and the loop ends.
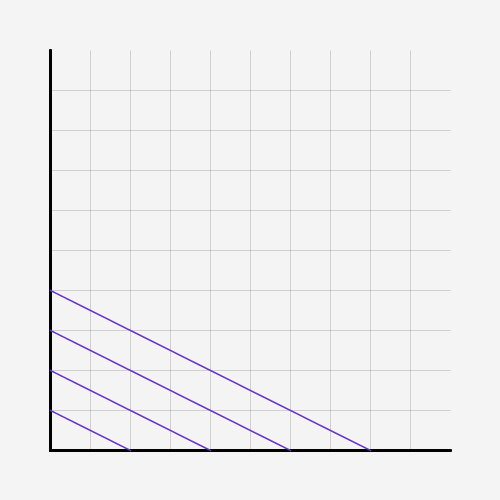
And now we bring all what we have learnt together. We use the variables and the loop to create the graph we drew earlier.
start_x = 0
start_y = 1
end_x = 2
end_y = 0

counter=1

while (counter<=4){

   Line( start_x, start_y, end_x, end_y)

   start_y = start_y+1
   end_x = end_x+2

   counter = counter+1
}
Create the variables for the lines Set them according to the first line. “start_x”, “start_y”, “end_x”, “end_y”.
Set “counter” to 1.
Start loop. Loop continues as long counter is smaller or equal 4{
Draw a line from Point (start_x, start_y) to Point (end_x, end_y)
Set “start_y” to “start_y”+1
Set “end_x” to “end_x”+2
The variables “start_x” and “end_y” aren’t changed, because they stay the same in each loop for this example (compare with coordinates above)
Set “counter” to “counter”+1
}
And the great things is, it is easy to play around with values, when you have written the program.
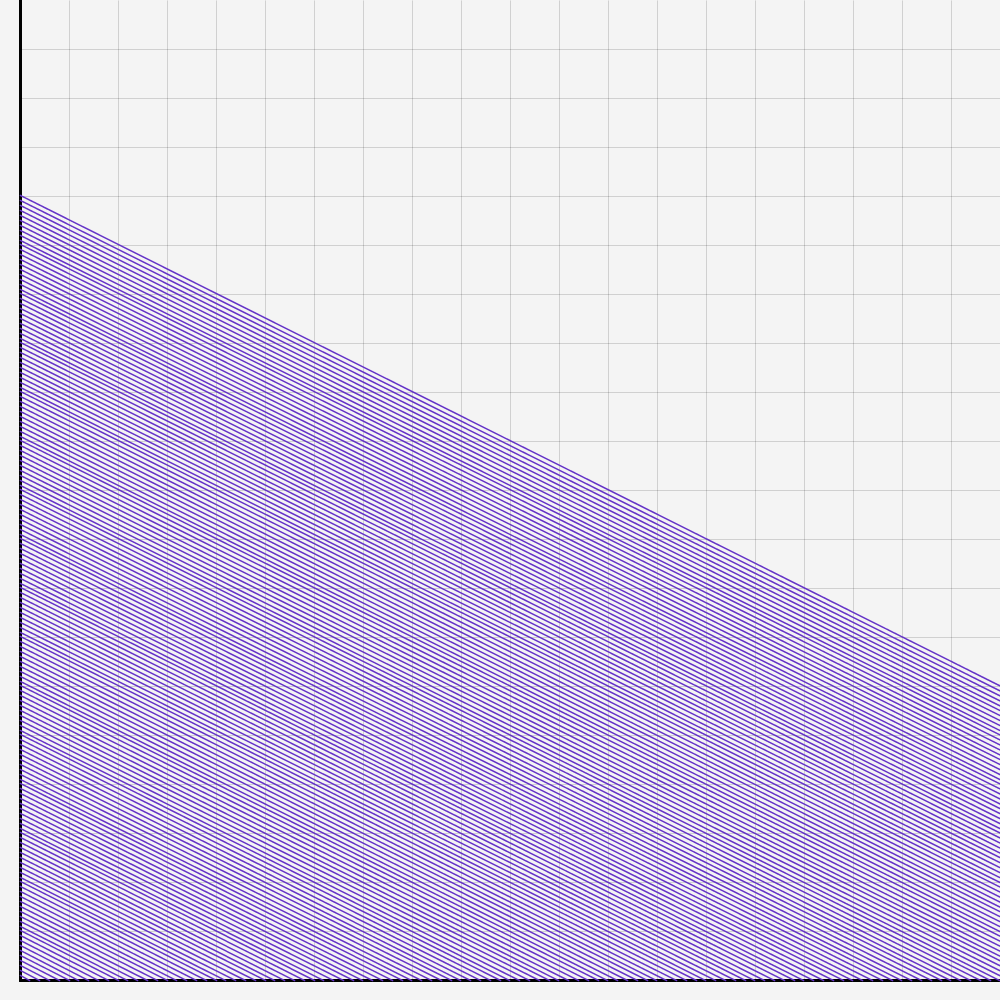
Why not 160 lines?
start_x = 0
start_y = 1
end_x = 2
end_y = 0

counter=1

while (counter<=160){

   Line( start_x, start_y, end_x, end_y)

   start_x = 0
   start_y = start_y+1
   end_x = end_x+2
   end_y = 0

   counter = counter+1
}
(The scale was changed to bigger steps)
Adding two lines each loop, changing the values
start_x = 0
start_y = 1
end_x = 2
end_y = 0
counter=1
while (counter<=160){
Line( start_x, start_y, end_x, end_y)
Line( end_x, 1000-start_y, 0, 0)
start_x = 0
start_y = start_y+4
end_x = end_x+8
end_y = 0
counter = counter+1
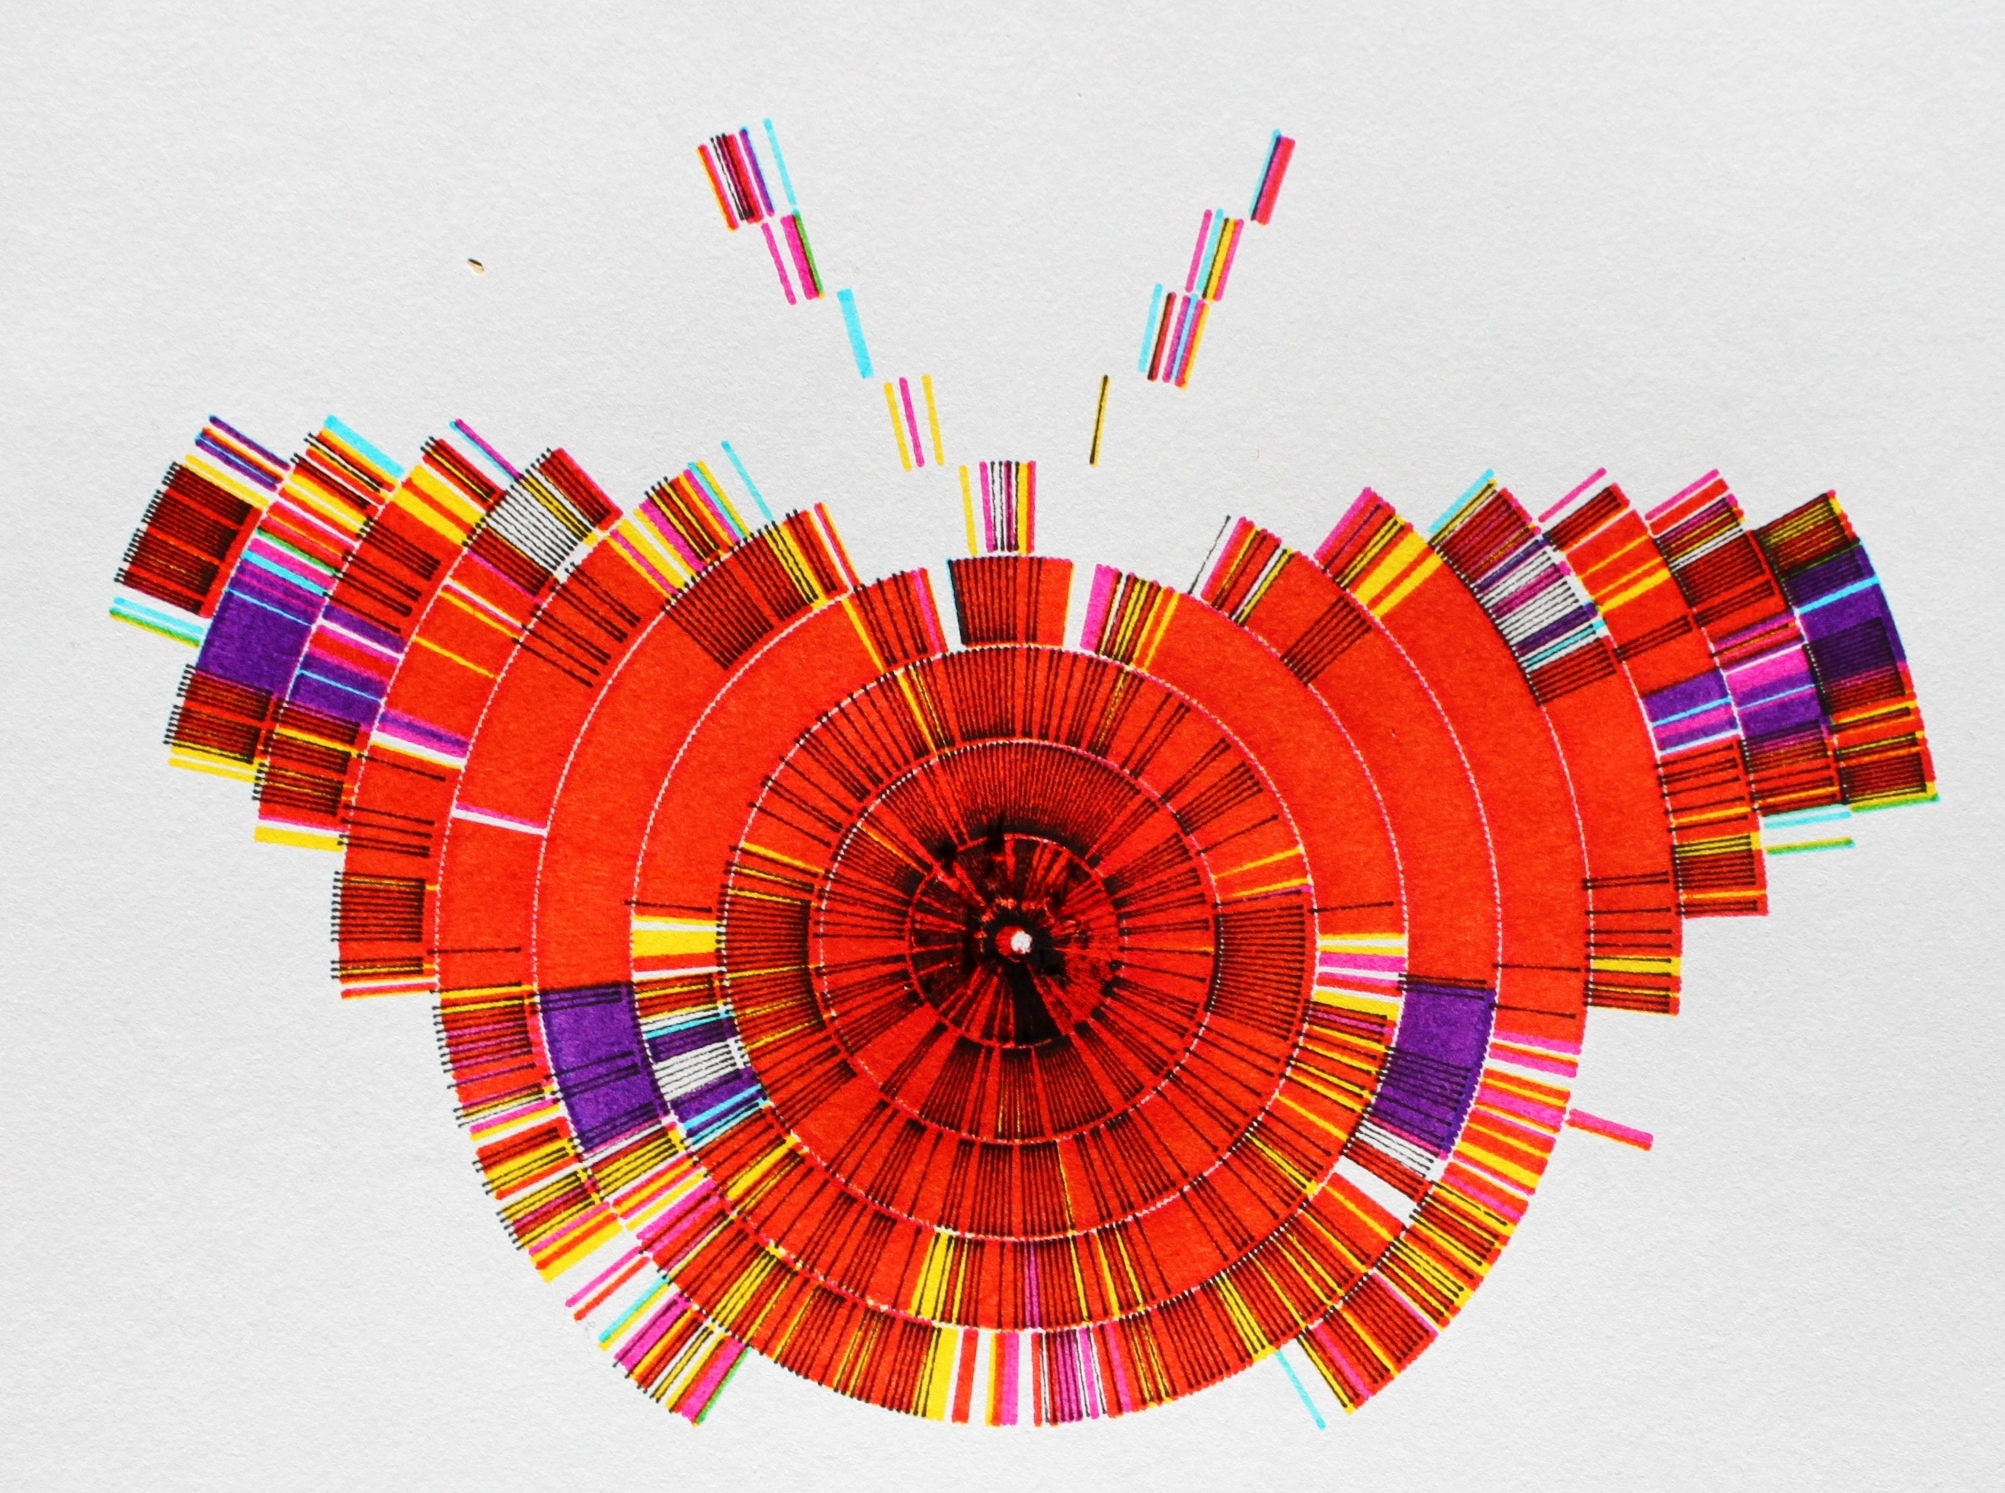
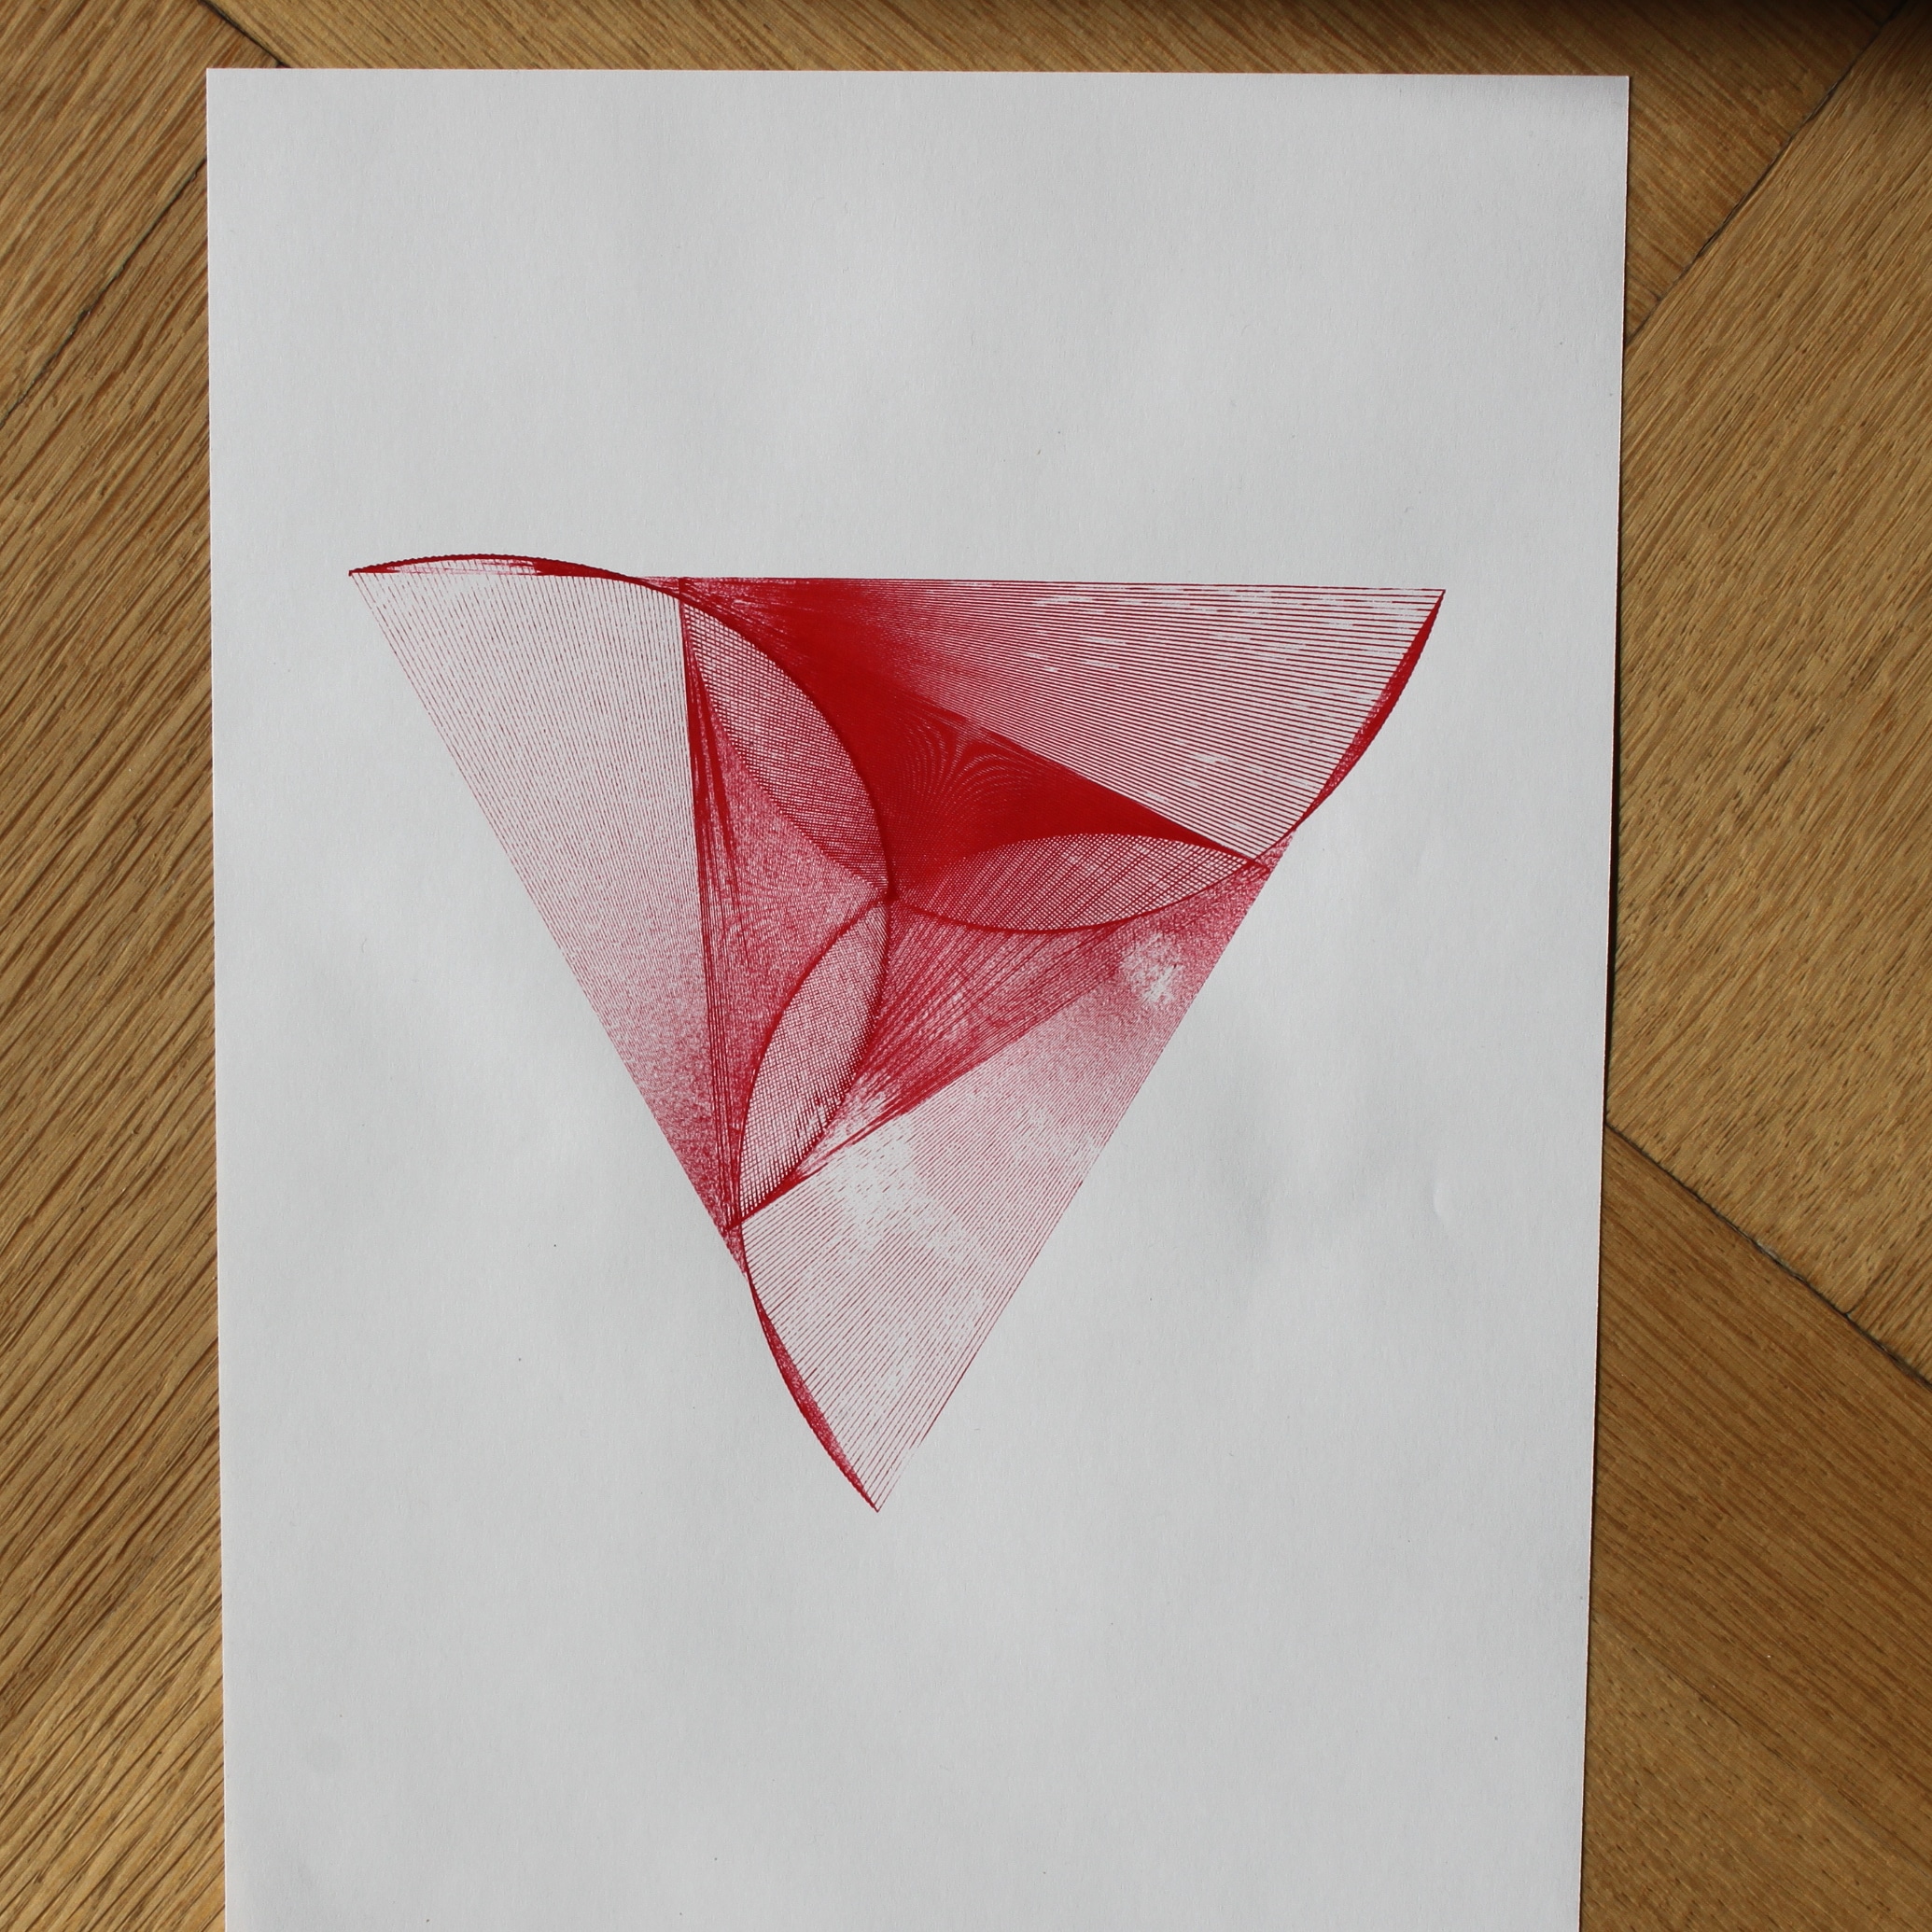
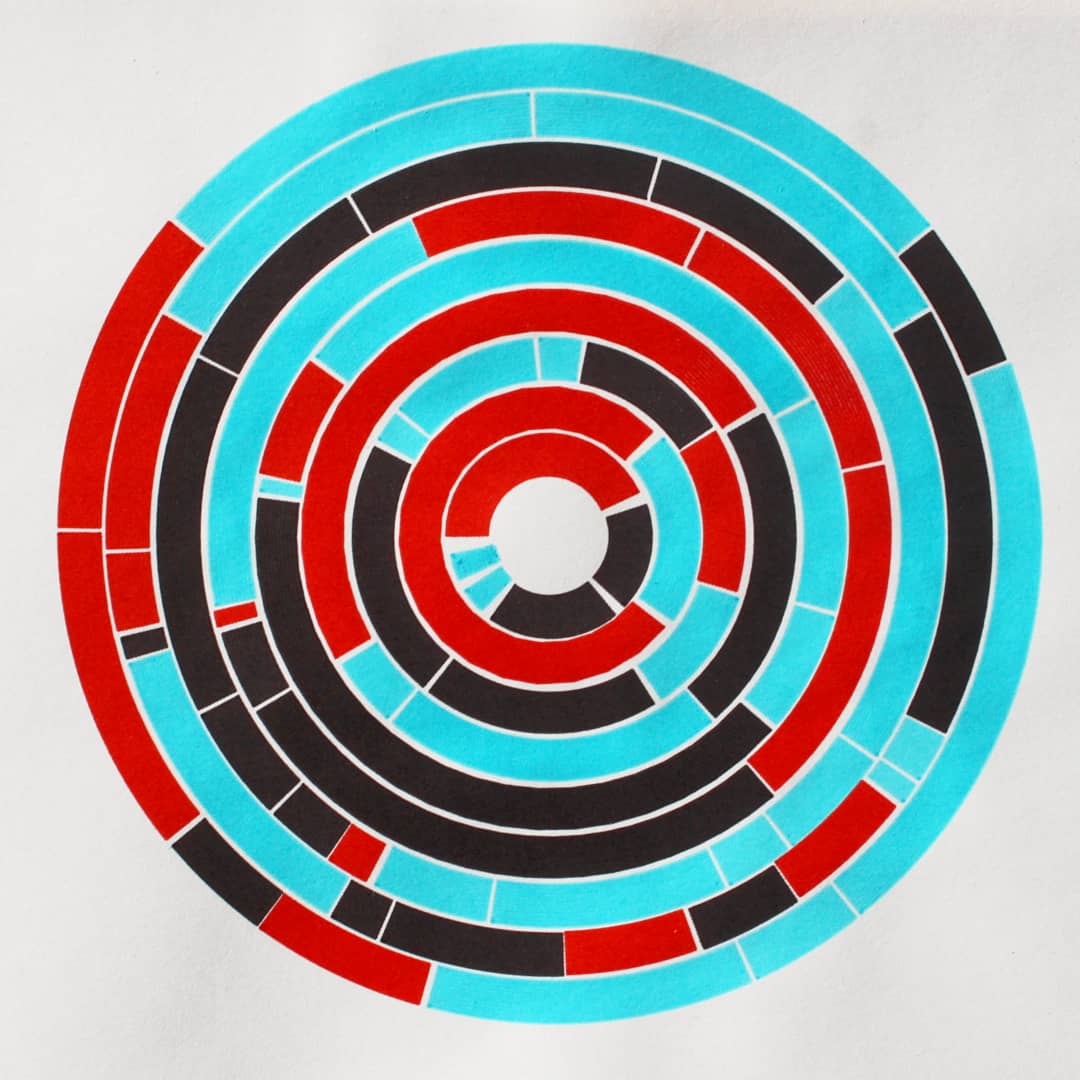
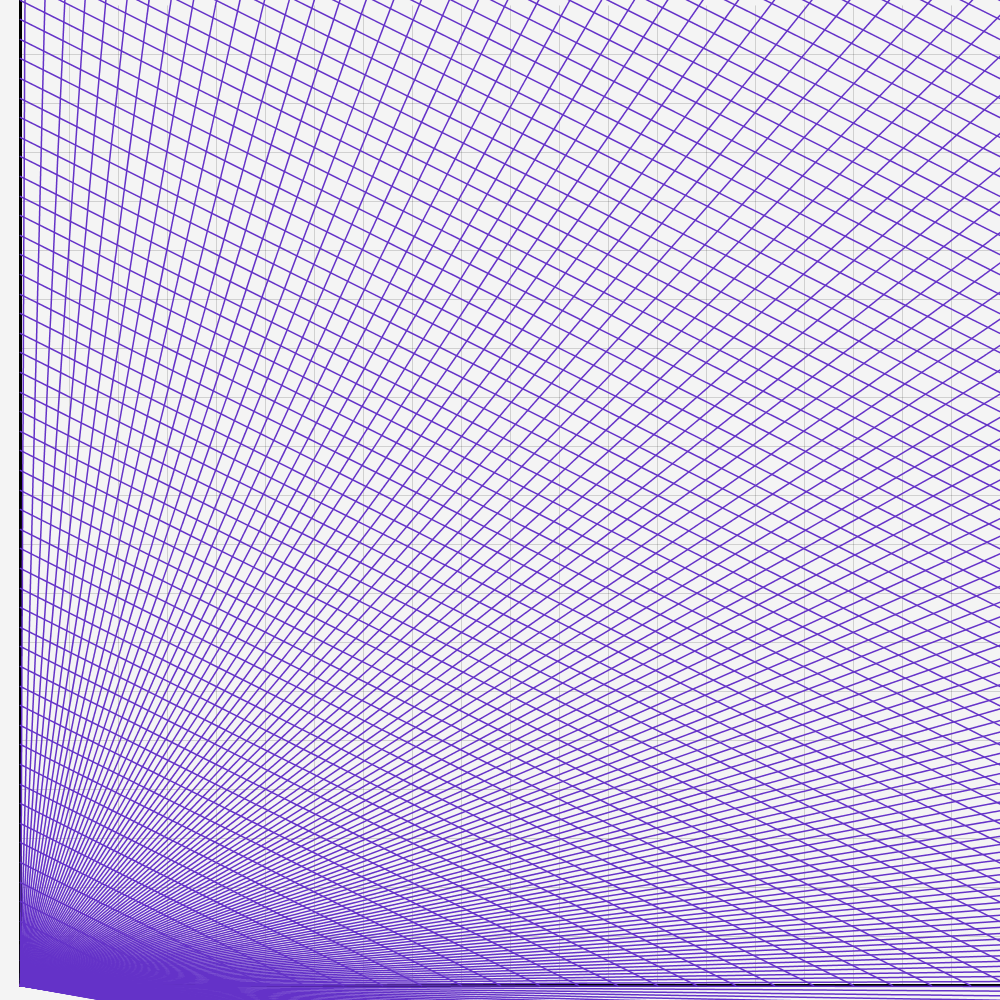
}Now we have a foundation to create generative art. After playing around with the values and adding 1 or 3 more lines each loop, I have created some interesting results. If you would add a nice looking frame, you could call it art.

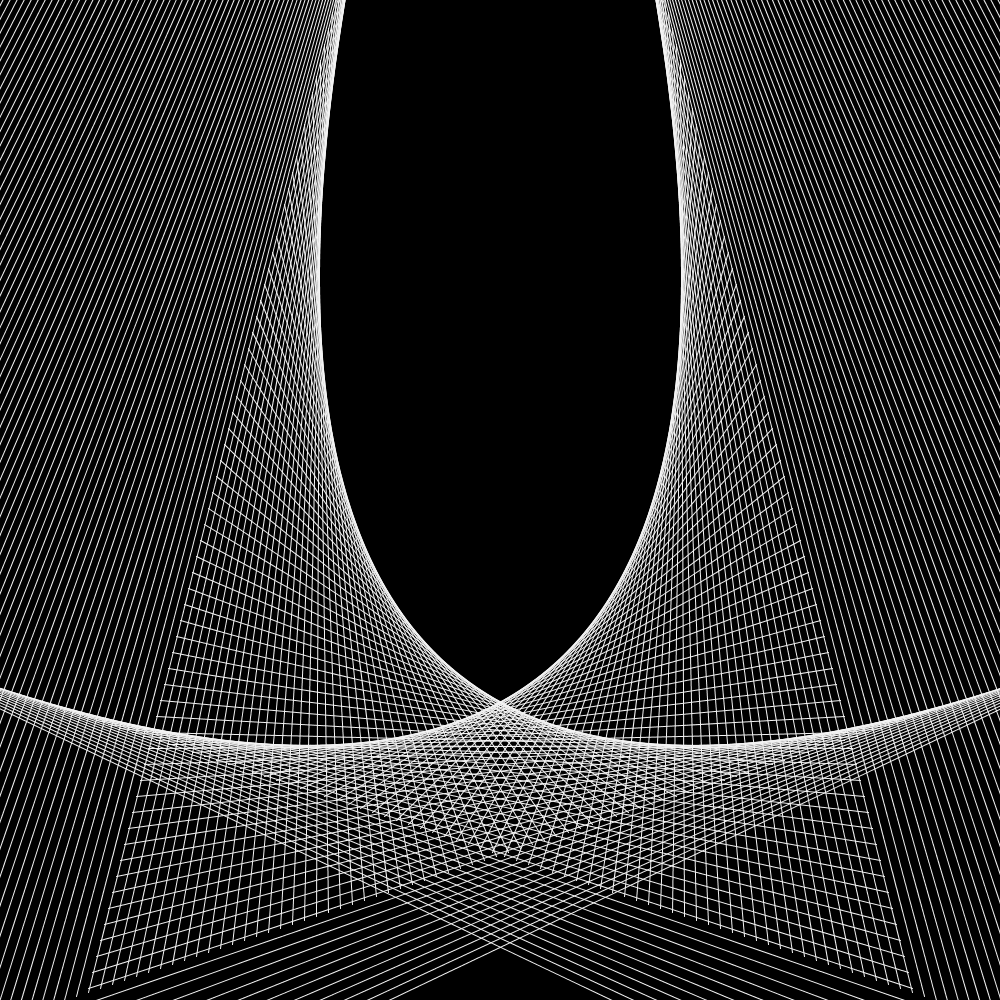
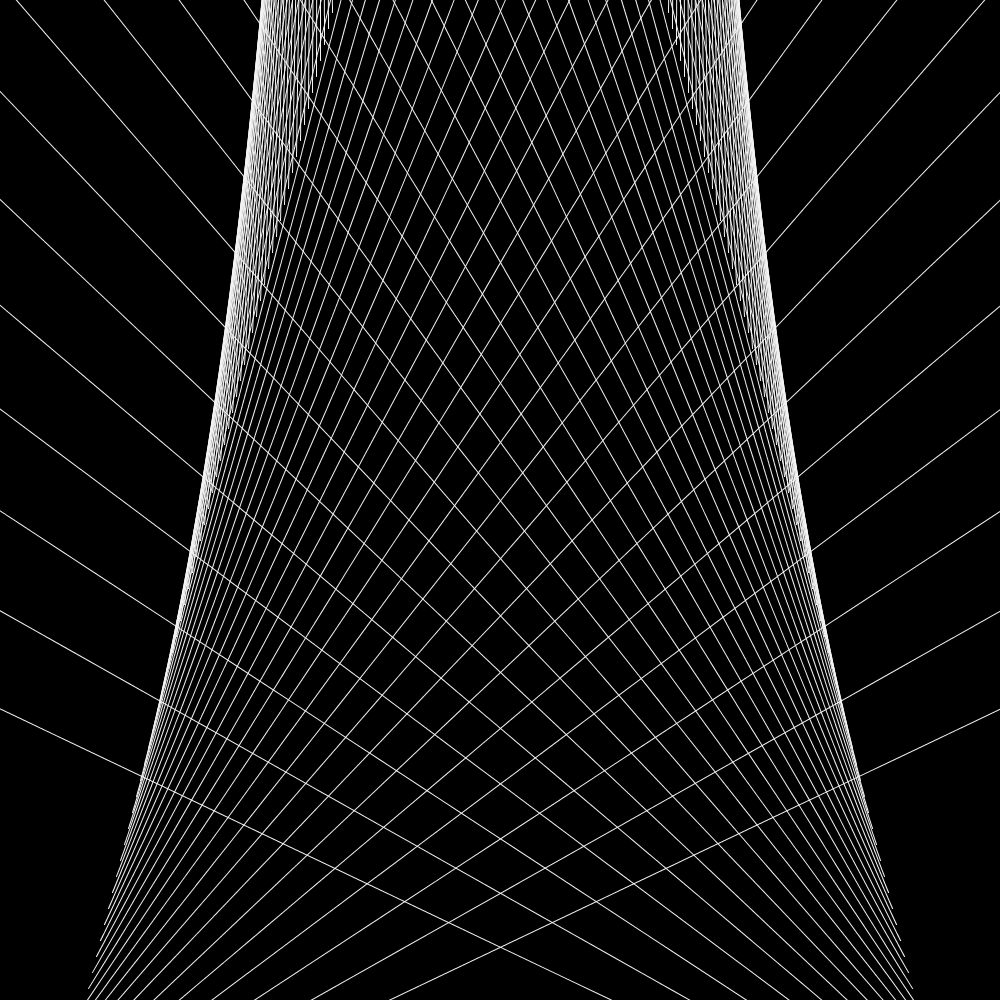
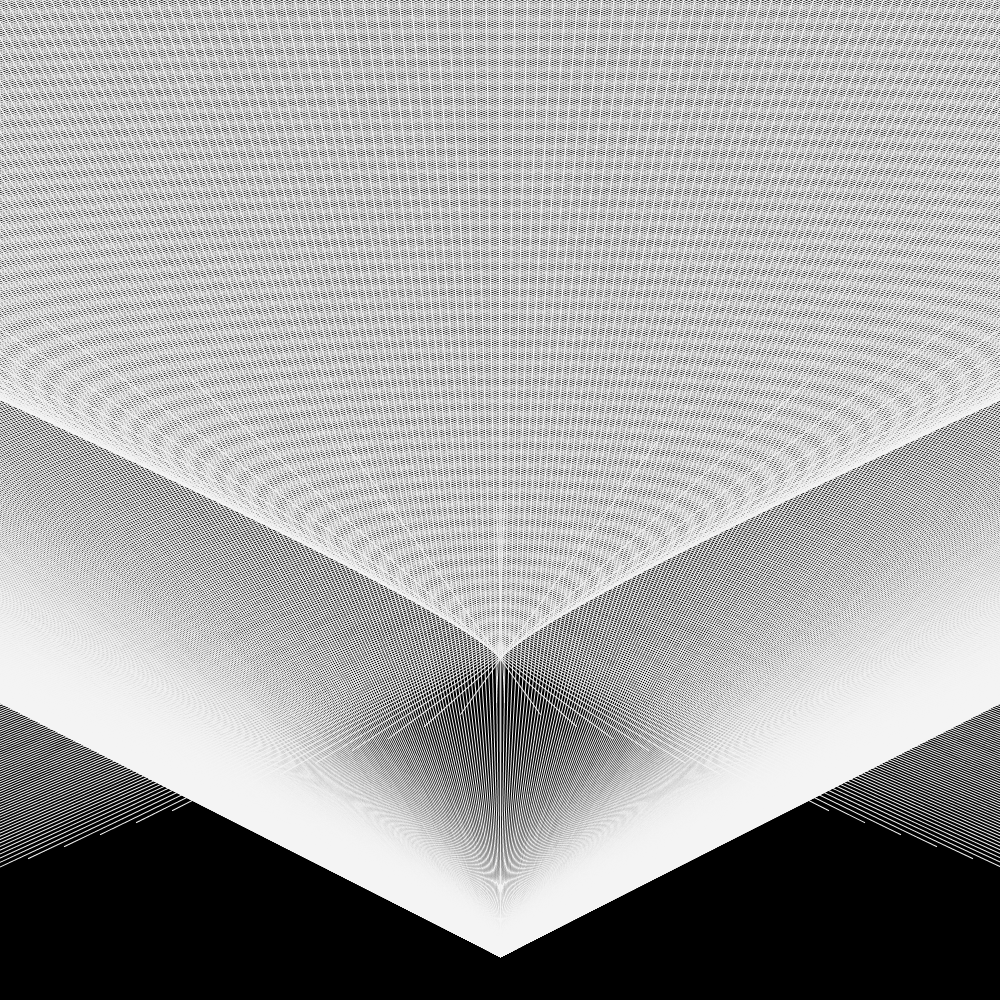
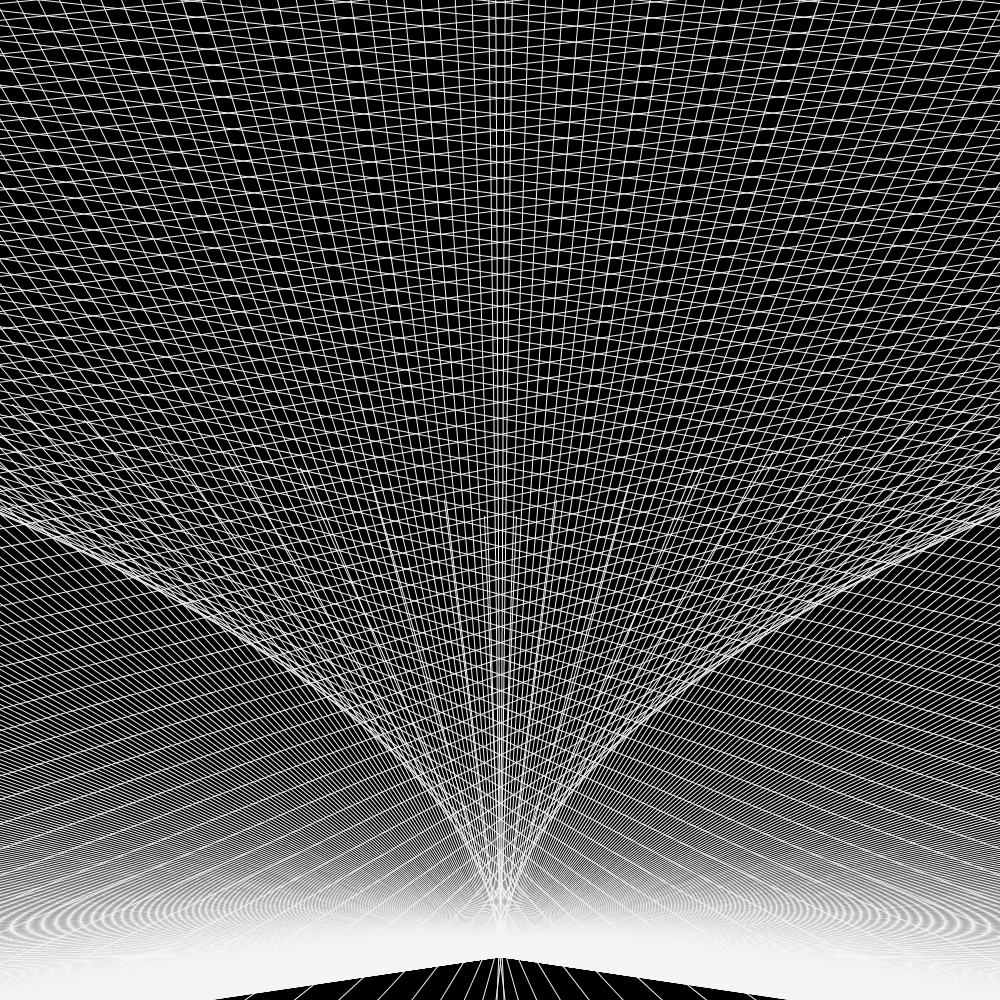
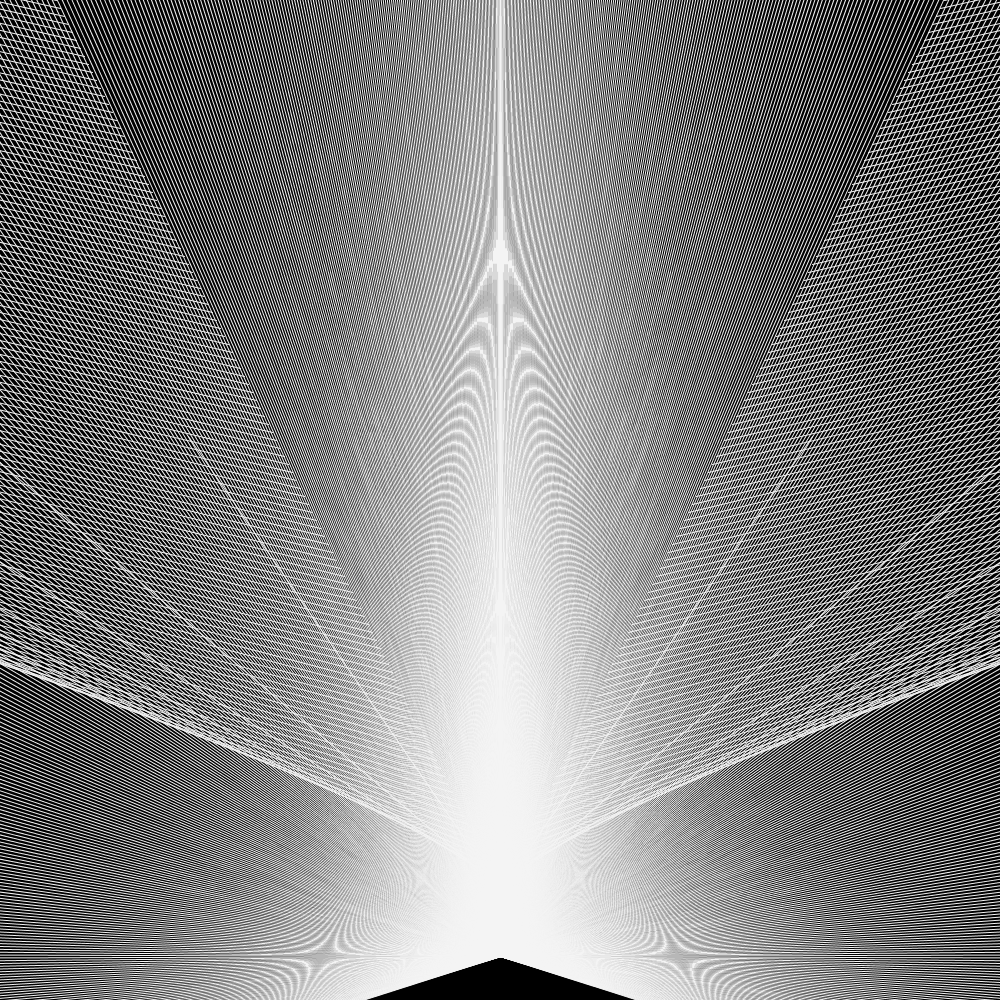
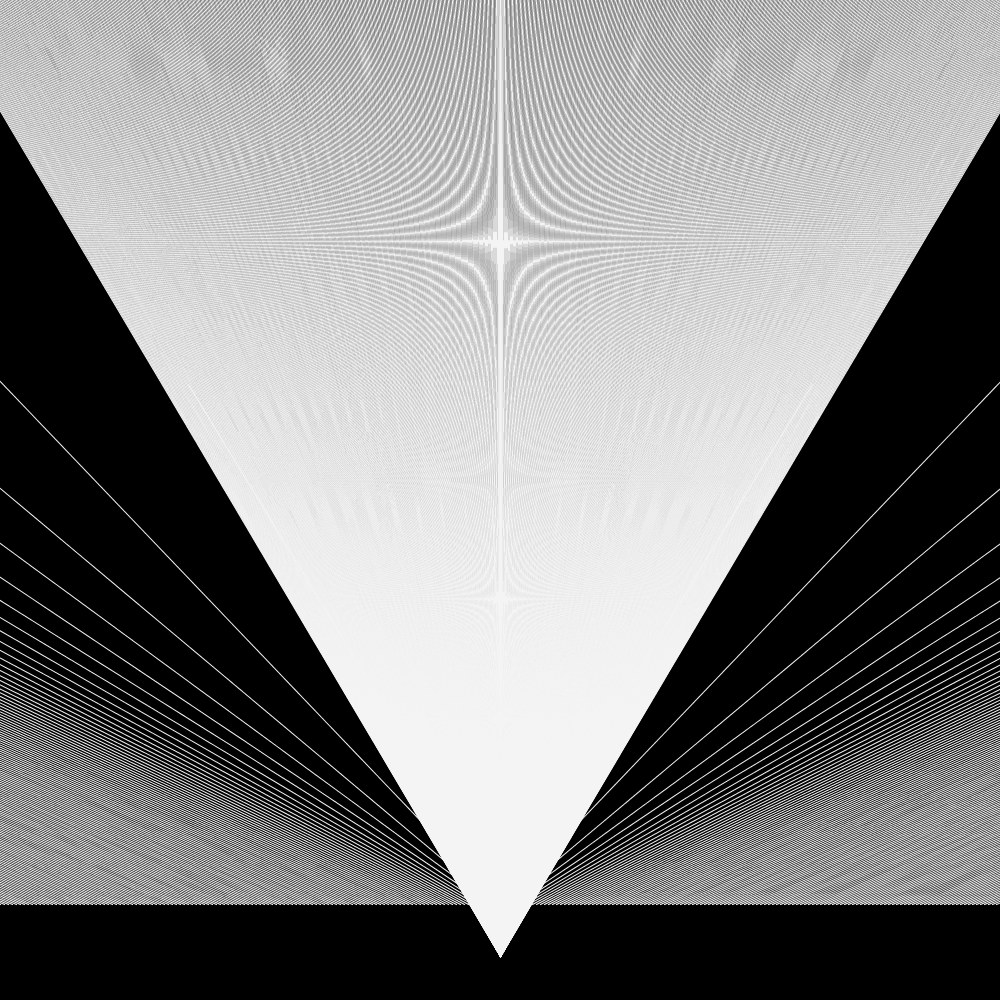
(The quality suffered from compression)
I hope you learnt something. For feedback or if you want a second part with real code, let me know on Instagram or Twitter